One of the most important things an animator must learn in character animation is how to create a walk cycle. There are four main poses which are used to keyframe a walk, known as: Contact, Recoil, Passing & High point. These are swapped round for each leg and loop in pose to make the illusion of walking. To begin with, I took some photos of myself walking across the room to understand these poses:
Frame 1 - Contact, Frame 5- Recoil, Frame 9 - Passing, Frame 13 - High-point,
Frame 17 - Contact, Frame 21- Recoil, Frame 25 - Passing, Frame 29 - High-point,
Frame 33 - Contact
For practice, we've been given a ready rigged character for us to learn how to animate a
realistic walk cycle in Maya. Using my drawn guide, I can keyframe these positions which should then result as a fully walking character.
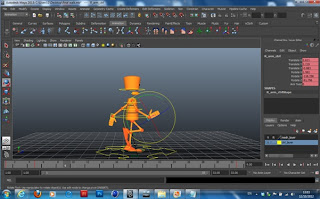
After adding the walk cycle with the legs, I wanted to give movement to the arms and make the waist move side to side with the legs. First I selected the mid spline rig for the characters waist and changed the Y rotate to -15 on frame 1. Frame 16 I then changed it to 15 and changed it back to -15 on frame 33. After test playing, you can see the movement also makes the shoulders move back and fourth.
Lastly I wanted to make the arms swing back and fourth to give the character a much more lively movement. I used the chart in the same way I animated the legs.
The arms are controlled by a rig which is placed around the wrist area. This is a separate rig to the once which controls the finger movements. To make the arms match the diagrams, I had to make sure I used the Arm twist and Y Rotate values mainly for it to bend properly.
This was the result I achieved after adding movement to the arms and waist. You can see that there is an error I made in the left arm, as it bends out of place. I needed to check the Curve chart and make the arms more symetrical.


No comments:
Post a Comment