Alongside the Topology drawing I created before begining the animation. I also experimented with Polymer clay to sculpt a 7" physical version of how the 3D model should look. This will also be a useful tool to use as reference during the modelling process.
First Thing I did was create a wired Armature. This will keep the clay stable together and I will also have more control on moving the model whilst keeping most of the shaped clay undamaged.
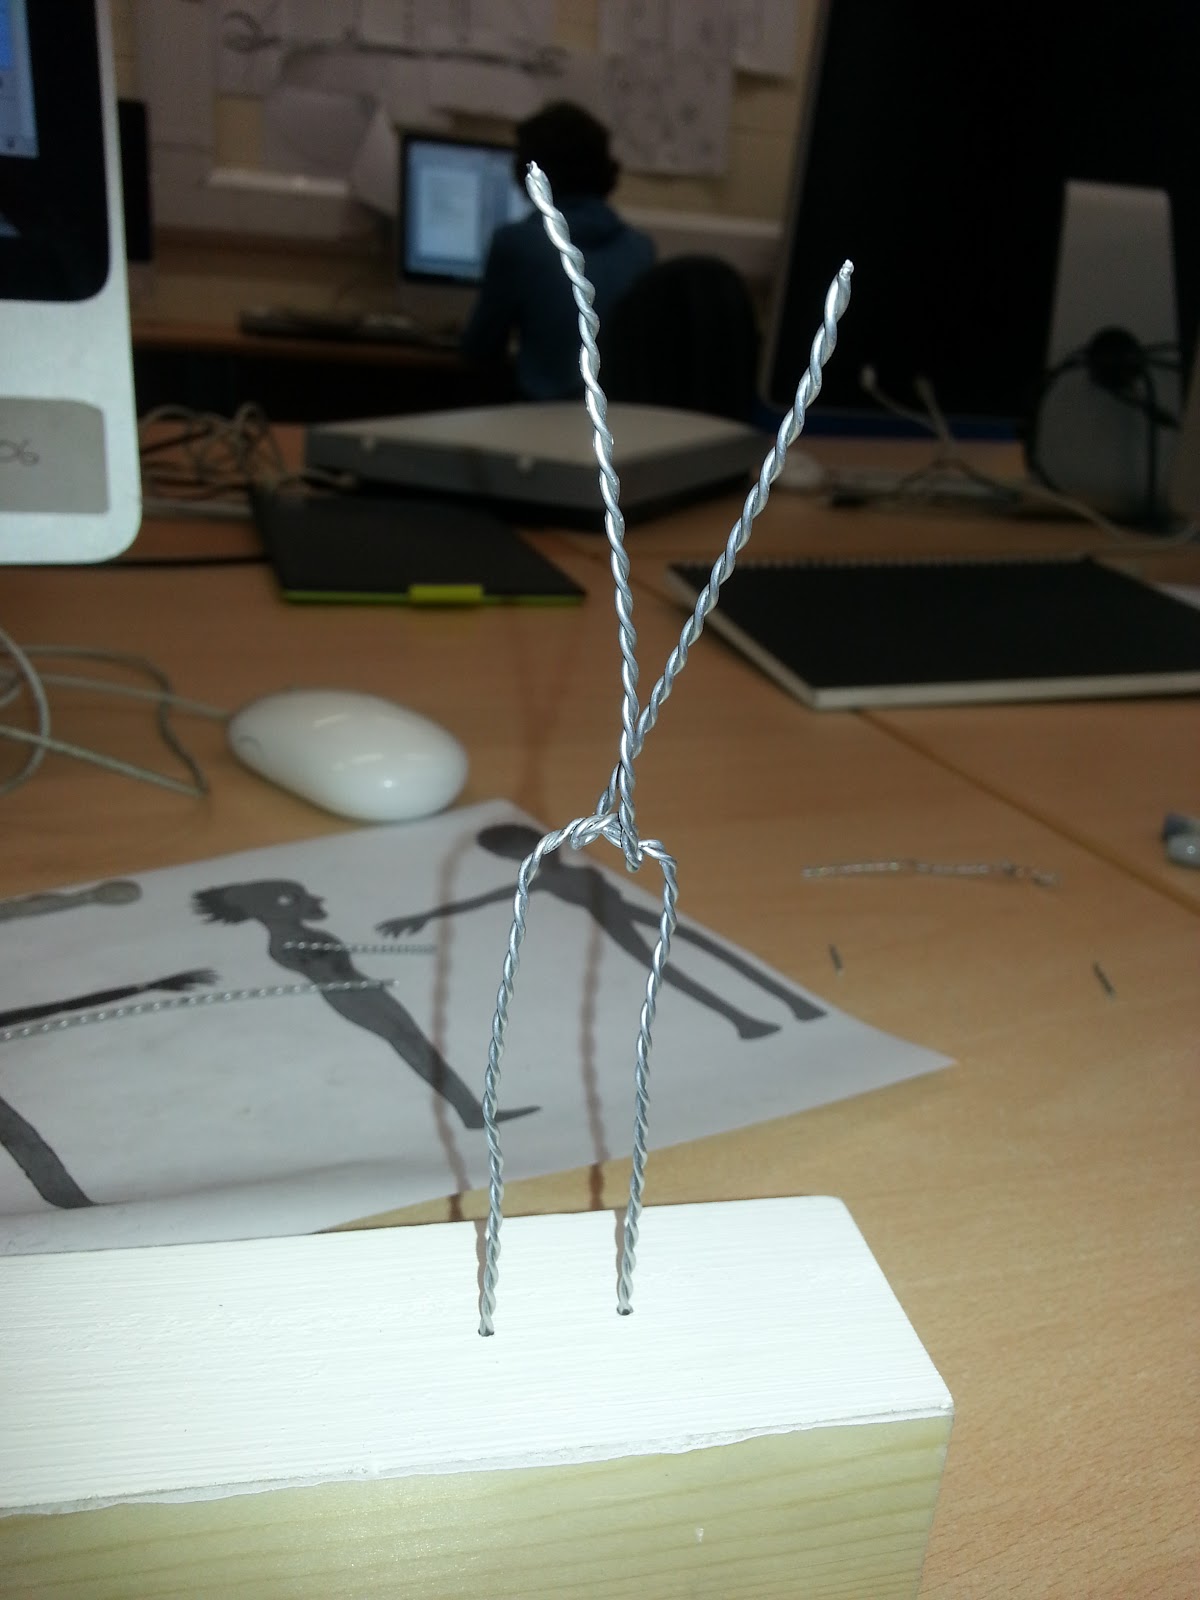

I printed out the turn around images, so I could match the armature with the design & then I used a block of wood and threaded the two legs into, in order to keep it up right and make things easier whilst I was sculpting the clay model.


When I finished the main body, I made indentations for where the eyes would be placed and I baked the model in the oven at 130 Degrees for roughly 10 minutes. Sadly I burnt the arms slightly due to being a thinner piece of clay but this didn't matter as I was going to paint over the clay.


The clay was then solid and I was able to add the eyes. I did this and used Milliput to firmly fix the eyes into the head. I also used milliput to create the hair, using this allows me to add final details without having to bake the model again since Milliput hardens by itself after a few hours.


Finally, I painted the model using Acrylic paint. I'm somewhat satisfied with the end result. I would want the face to have more definition in the final model and the legs be more longer than the arms. This was something I wasn't able to reverse very easily, due to the armature.
Overall this has been good practice to preparing how I want my character to look like in a 3D space.
No comments:
Post a Comment